How to Crochet the Second Row - Tutorial Eight
Are you stuck on how to crochet the second row of your project? It can be a bit confusing when you’re just starting out with crochet. Where do you put your first stitch? How do you count the stitches and where do you end the row? This tutorial, as part of the How to Crochet Step by Step mini series will answer all these questions for you.

I’ve made a quick video tutorial, shown below, to help you through those confusing stages where I go through crocheting the second row when working in rows as well as working in the round. Keep scrolling if you prefer written instructions with detailed photos.
Don’t forget to subscribe to my YouTube channel to get instant updates on new videos or the mailing list to get a free pattern and a reminder email for new crochet tutorials.
How to Crochet the Second Row Correctly
Watch the Video
Written Instructions
Working in Rows
The Turning or Starting Chain
When working in rows, we begin the second row by making some chains, called the turning or starting chain. The chain is needed in order to bring the working yarn up to the height of the stitches that we are working with.
So if we are working double crochet stitches (U.K. treble) then we would begin with a chain three. The chain three is the same height as a double crochet stitch. See the photo below.

If you’re not sure how many chains to make at the beginning of the row, don’t worry, this is something that is included in every pattern at the beginning of every row. The pattern you are following will tell you what to do. Or you can check my turning chain guide to see how many chains relate to each of the basic crochet stitches.
Where to Work the First Stitch
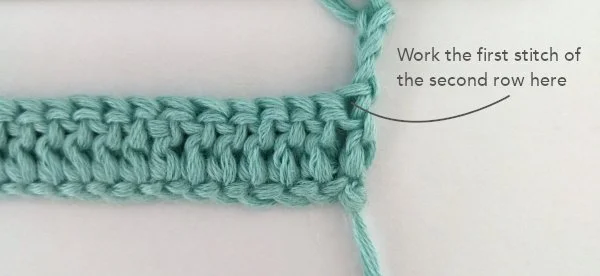
Once you have made your chains, you will then work your first stitch into the last stitch of the first row. See the photos below.

Working the Last Stitch
Continue your stitches until you reach the end and make your last stitch into the first stitch of the first row. See the photo below.

Working the second row in this way, by not counting the turning chain as a stitch, means you will get even, straight edges on both sides and a neat and tidy project.

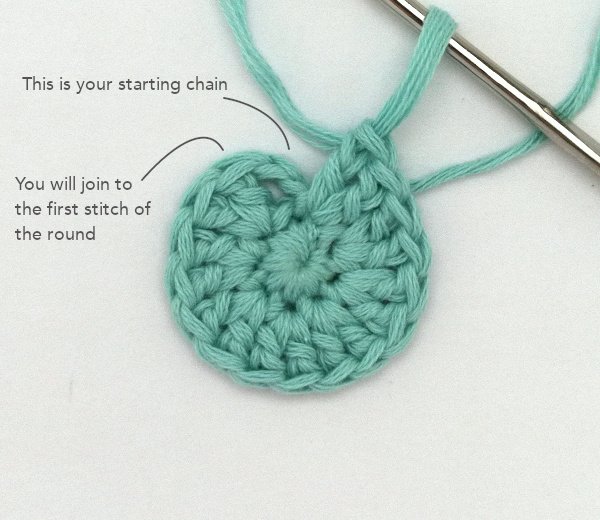
Working in Rounds
Where is the Beginning and the End?
When working in the round, you will basically do the same thing as working in rows, the only difference is joining the two ends together and knowing where the beginning and end is. The beginning of the round is the stitch after the join and the end is the join. I usually like to mark the join in order to keep track of where to end my rounds. See the photo below for clarity.

Where to Work the First Stitch
Once you have finished your first round of stitches, joined your two ends and made your starting chain, you will then skip the joining stitch and work your first stitch into the second to last stitch of your first row as shown above.
Usually you will make two stitches into each stitch for the second row of a project worked in the round. Continue making two stitches for each stitch of the first row until you reach your marked stitch or the join. Take the marker out and make another two stitches into that marked stitch (the join from the first round).
Joining the Second Round
Next you will need to join again to complete the circle. You will do this by, skipping the chain three that you made at the beginning of the round and making a slip stitch into the first stitch of the second row. See the photo below.
Now when counting your stitches, again you do not count the joining stitch. You should have double the amount of stitches that you started with.
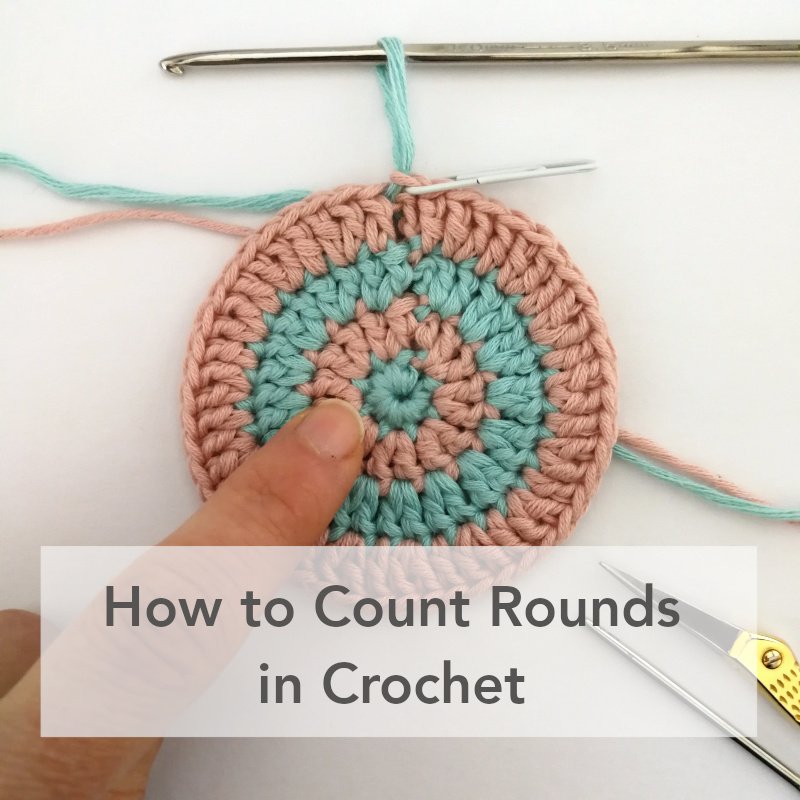
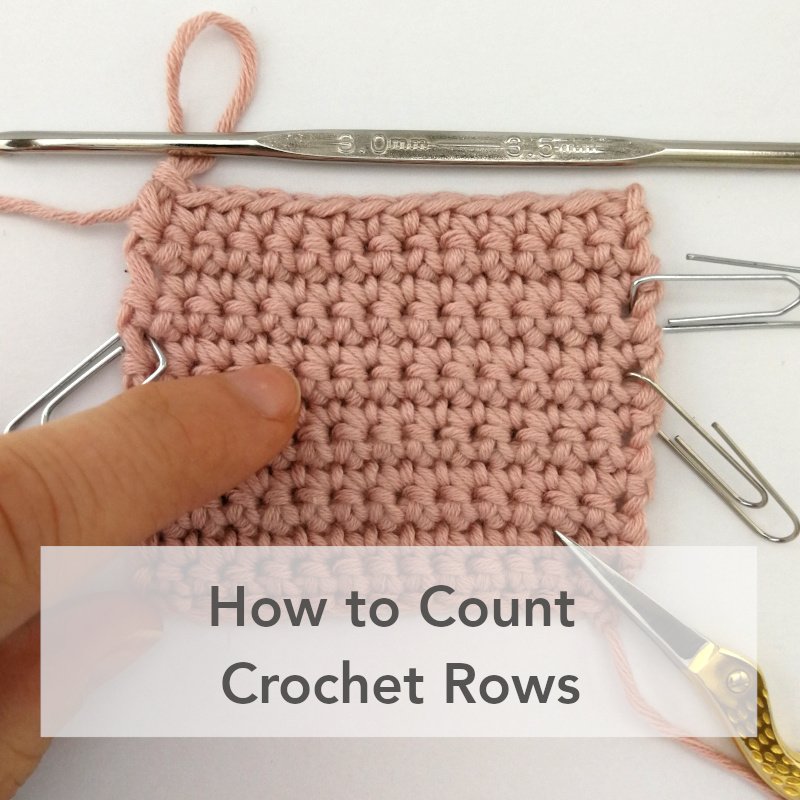
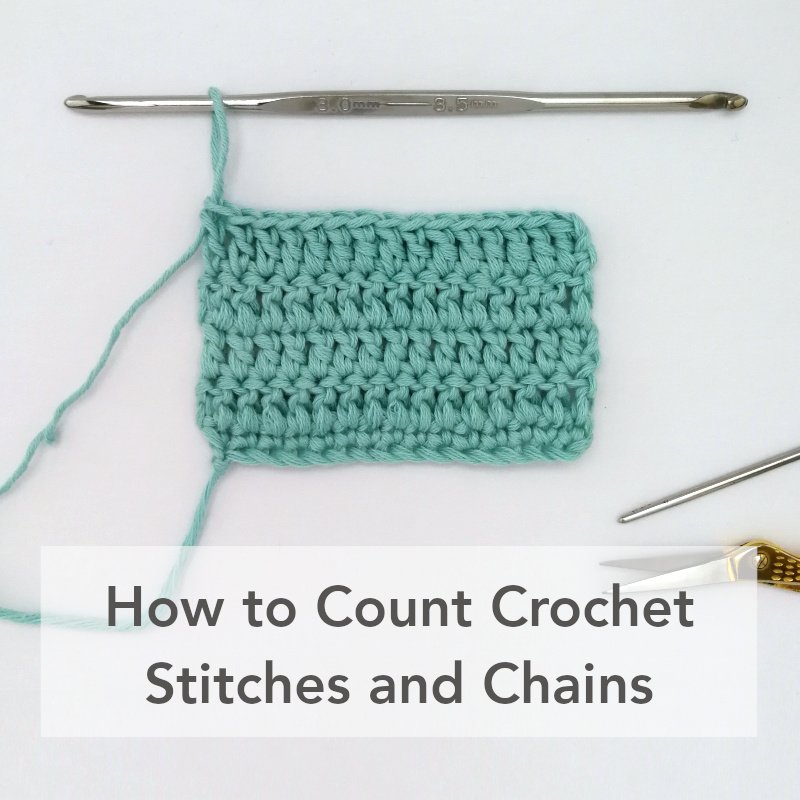
Need more help with counting stitches? Head to my How to Count Stitches and Chains post for extra guidance.

I hope this helps and answers all your questions about the second row. If you need any more help, just pop your questions in the comments and I’ll do my best to help you out.