

How to Crochet the First Row After the Foundation Chain - Tutorial Seven
Tutorial seven of the How to Crochet Step by Step mini series is all about how to crochet the first row after the foundation chain.
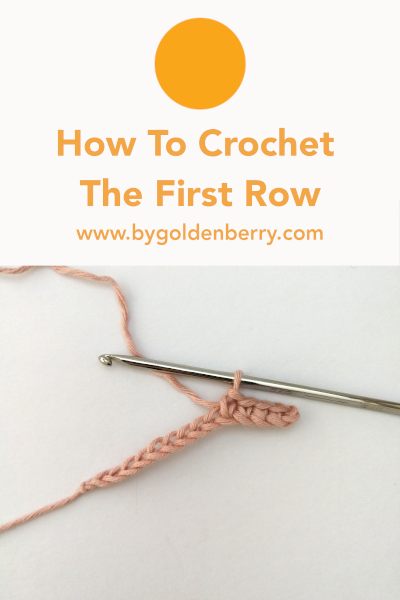
Now that we know how to make a foundation chain, the next step is to start the first row of your project. If you’re unsure about where to insert your hook for your first stitch then watch the quick video below for how to crochet the first row after the foundation chain or head to the written instruction further down.
Don’t forget to subscribe to my YouTube channel to get instant updates on new videos.
Written Instructions
There are three different options to choose from when starting your first row. If you notice each chain has three loops. The top loop, bottom loop and back loop, see the photos below.


Option One
The first option is to insert your hook under the top loop only. This will create a first row that has quite an open stitch with a lot of gaps, see the photo below for an example.

Option Two
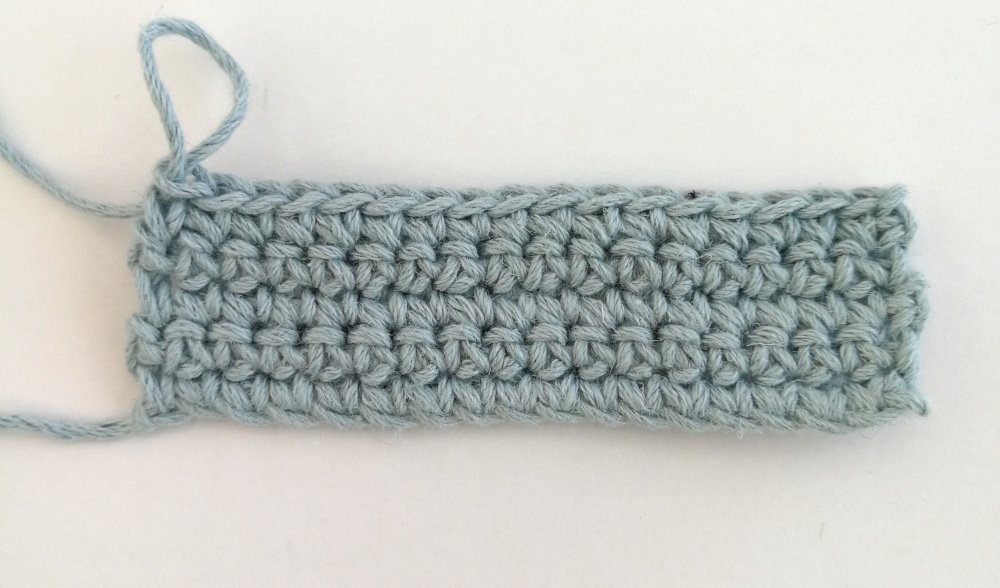
The second option is to insert your hook under both the top loop and the back loop together. This creates a much neater first row with a single line of loops. This is how I usually work my first row of stitches. See the below photo for an example.
Option Three
The last option is to insert your hook under the back loop only. Working your first row of stitches this way means that you will get two edges that look the same. That is, the top edge of your last row will look the same as the bottom edge of your first row. They will both have a row of V shapes to work into. See the below photo for an example.

If you want both edges of your work to have the same look or if you want to create V shapes so that the bottom edge is easier/clearer to work into then this is the option for you.
Again there is no right or wrong here, it just depends on how you find it easier to work and how you want your finished piece to look.
If you have any questions about any of the three options, just pop them in the comments and I’ll do my best to help you out.