
How to Weave in Ends in Crochet - Tutorial Ten
You’ve got to the end of your crochet pattern and fastened off but you’re not entirely sure how to weave in ends in crochet properly. Don’t worry, I’ve got you covered.
This article, tutorial 10 of the how to crochet step by step mini series, is completely dedicated to showing you how to correctly hide all those loose ends of your project so that it looks completely finished.

Is Weaving in Ends Really Necessary?
Weaving in ends in crochet can be a real pain. There’s nothing like finally getting to the end of our projects only to realise we’ve not quite finished yet and we still need to weave in a million ends.
You might be wondering if it’s actually really necessary and whether we can get away with not doing it. Believe me, you’re not alone!
The short answer is Yes! The two main reason we need to weave in all our ends is to 1. hide them away so they’re not visible and 2. completely secure the project and make sure it doesn’t come loose.
This is really important for items of clothing or anything we might wash. We want to make sure that washing, wearing and stretching it won’t pull those ends loose and encourage it to start unravelling.
How to Weave in Ends in Crochet
Video Tutorial
I’ve created a quick video tutorial which you can see below or you can head to the written descriptions further down if you prefer to read through them instead.
Don’t forget to subscribe to my YouTube channel to get instant updates on new videos or the mailing list to get a reminder email for new crochet tutorials.
Written Instructions
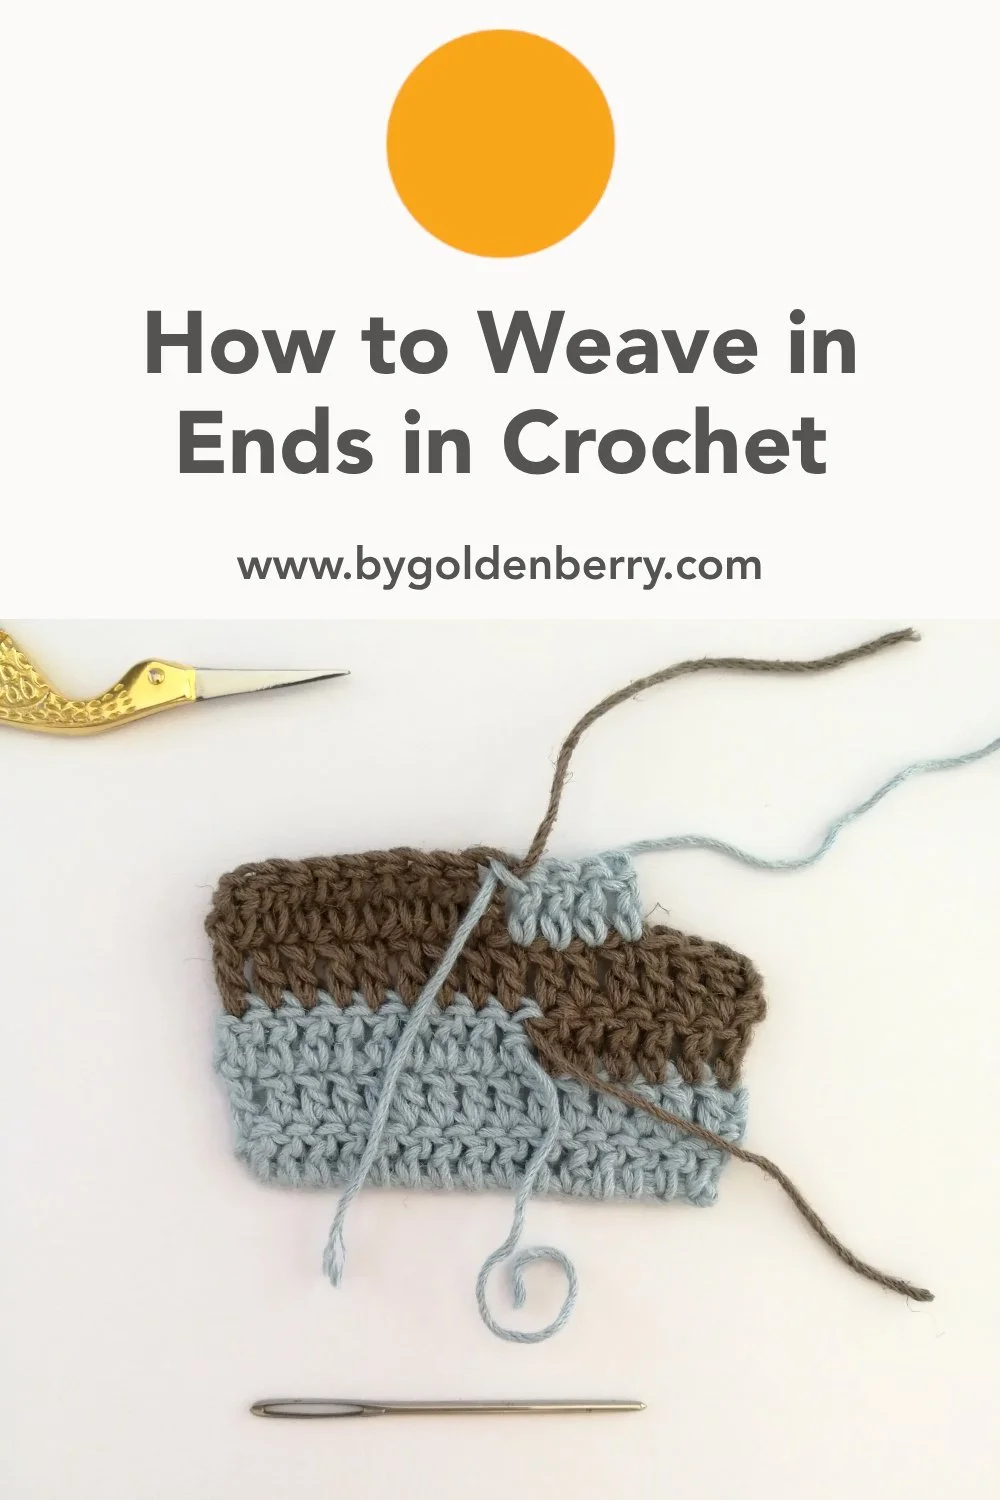
You’ve come to the end of your project and fastened off, as described in the previous tutorial, which leaves you with an end hanging loose from the last stitch. You may even have more ends if you have used more than one colour.
In order to hide these ends and secure them, you need to weave them into your work. How do we go about doing this properly?
Make sure your ends are about 10cm long. Not too long so you have lots to weave in and not too short so you have enough of an end to work with.
Use a darning needle with a large eye so that it is easy to thread your ends through. The last thing you want is to be struggling to thread them through the eye of the needle if you have many ends to work with.
Then begin weaving the end in and out of your stitches, making sure to work on the wrong side of your work.
Be sure to weave in through the same colour stitches as the end.
Make sure you weave back and forth through different directions to really secure the end in place. You can move left, then skip the last stitch loop you weaved through and come back on yourself. Then move up to the next row and along the stitches on that row. Then back on yourself again.
Don’t pull too tight so that your stitches become misshaped.
Keep weaving until you are happy that the end is secure and won’t come loose.
Snip off the remaining end as close to the last stitch as possible.
Do this for each of your ends.
Unfortunately, it is a lot of work and most crocheters do not like to do it but it’s a necessary evil to make sure your crochet project is finished well.
For a really easy and quick tip on how to reduce the amount of weaving you do head to this next tutorial.
If you have any questions about weaving in ends, just pop them in the comments, I am happy to help.