How to Yarn Over in Crochet - Tutorial Six
If you’re new to crochet, you might be wondering what a yarn over actually is, what it looks like and whether you’re doing it correctly.
I’m here to tell you there is no right or wrong way of how to yarn over in crochet, as is sometimes suggested, however there is a slight variation that you need to be aware of.
This is tutorial six of the How to Crochet Step by Step mini series where I go through all the basics to get you to the stage where you can try one of my free crochet patterns.

What is Yarning Over?
Yarning over is in nearly every single crochet stitch so it’s an important part to learn.
Yarning over literally means wrapping the working yarn over your hook so that you can then use the hook to draw that yarn through your loops to make the next stitch.
Even though we call it yarning over, there are two different ways to pull the yarn through the loops on your hook. Those two ways are yarning over or yarning under. Both of these refer to where the working yarn is on your hook when pulling it through the loop.
We can wrap the yarn over the hook which would be yarning over, or we can also not wrap it over and simply draw the yarn through the loop, as it is, under the hook, and we refer to that as yarning under.
How to Yarn Over in Crochet
Don’t worry! It might sound confusing at first but it’s really quite simple and I’ll go through it all in detail below. There is a video tutorial, which may be easier to see the difference between the two, and also a photo tutorial below with written instructions if you prefer.
The Video Tutorial
Watch the video tutorial below for all the ins and outs of how to yarn over in crochet. Don’t forget to hit like and subscribe to my channel for more tutorials and pattern videos.
The Photo Tutorial and Written Instructions
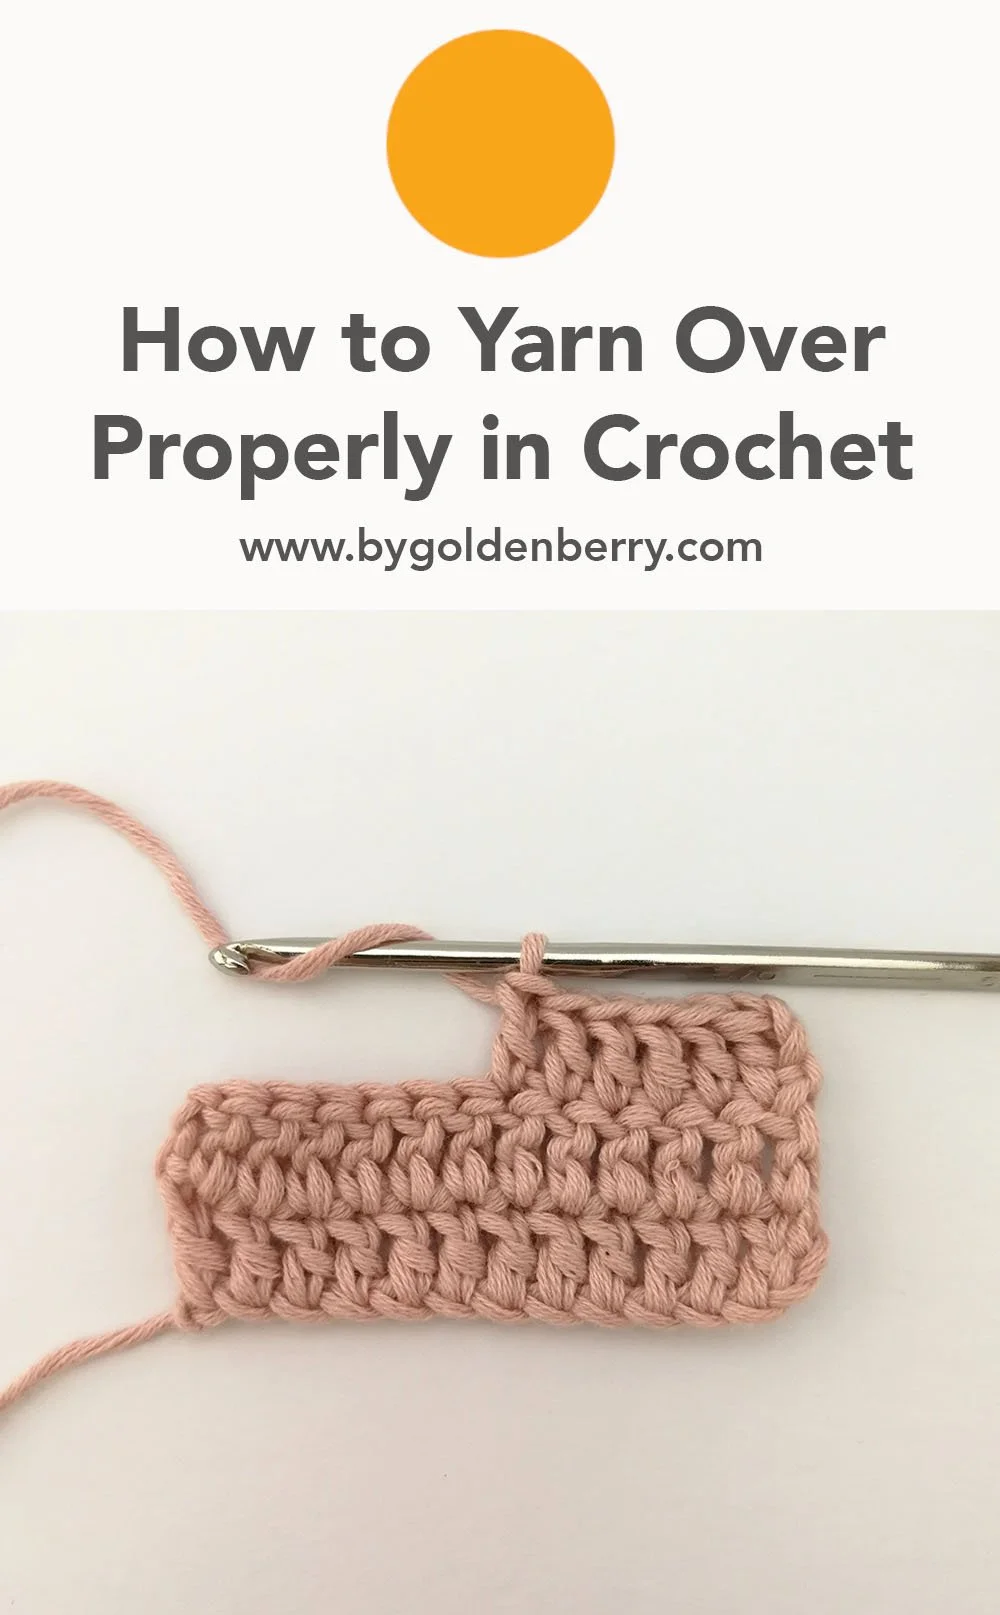
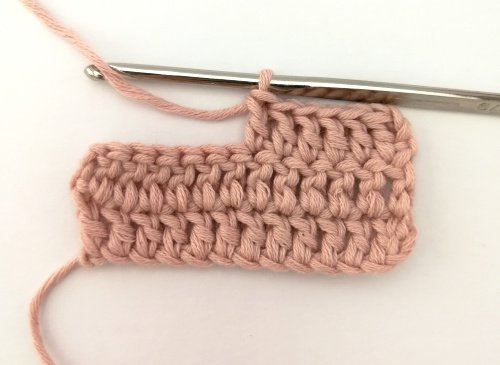
Yarning over means that we are wrapping the working yarn over the hook, as the name suggests, before pulling the yarn through the loop. See the image below for an example.
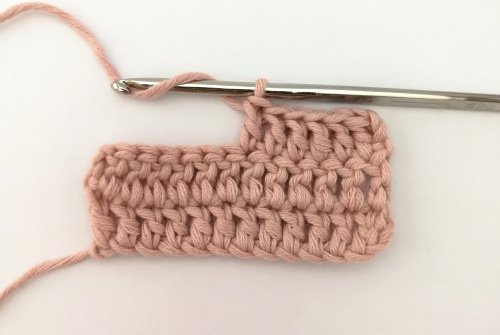
Yarning under, on the other hand, has the yarn under the hook, before pulling the yarn through the loop. See the next image for an example.
Yarning Over versus Yarning Under
Both yarning over and yarning under are valid and whichever way you find easier is fine however, just be aware that yarning under will change your stitches slightly.
Yarning under makes your stitches ever so slightly thinner and shorter which means your work will be tighter and smaller.
So if you are working on a project where size matters, like a an item of clothing, then you will want to make sure you are yarning over or working the stitches however the pattern designer has specified. If yarning over or under is not mentioned then always assume that it is over!
If you are working on a project where the size of the finished item doesn’t matter like a dishcloth then feel free to work the stitches however you prefer.
Yarning under is a great way to work your stitches if you are aiming for a tighter stitch. In something like amigurumi where you want the stuffing to stay in and not be visible, then yarning under can really help with that.
If you are unsure, then working a gauge swatch is a great way to check if the way you are working the stitches will affect your finished project.
Ultimately, it all depends on whether you need to make something to a specific size or if the size of the finished item is irrelevant.
If you have any questions about yarning over or under, just pop them in the comments.