Easy Crochet Snowflake Free Pattern for Christmas Decor
The following article may contain affiliate links. This means that if you make a purchase from these links, I may receive affiliate commission at no additional cost to you.
The recommendations listed here are based on personal experience and the affiliate relationship in no way compromises the integrity of the suggestions. More about sustainable yarns.
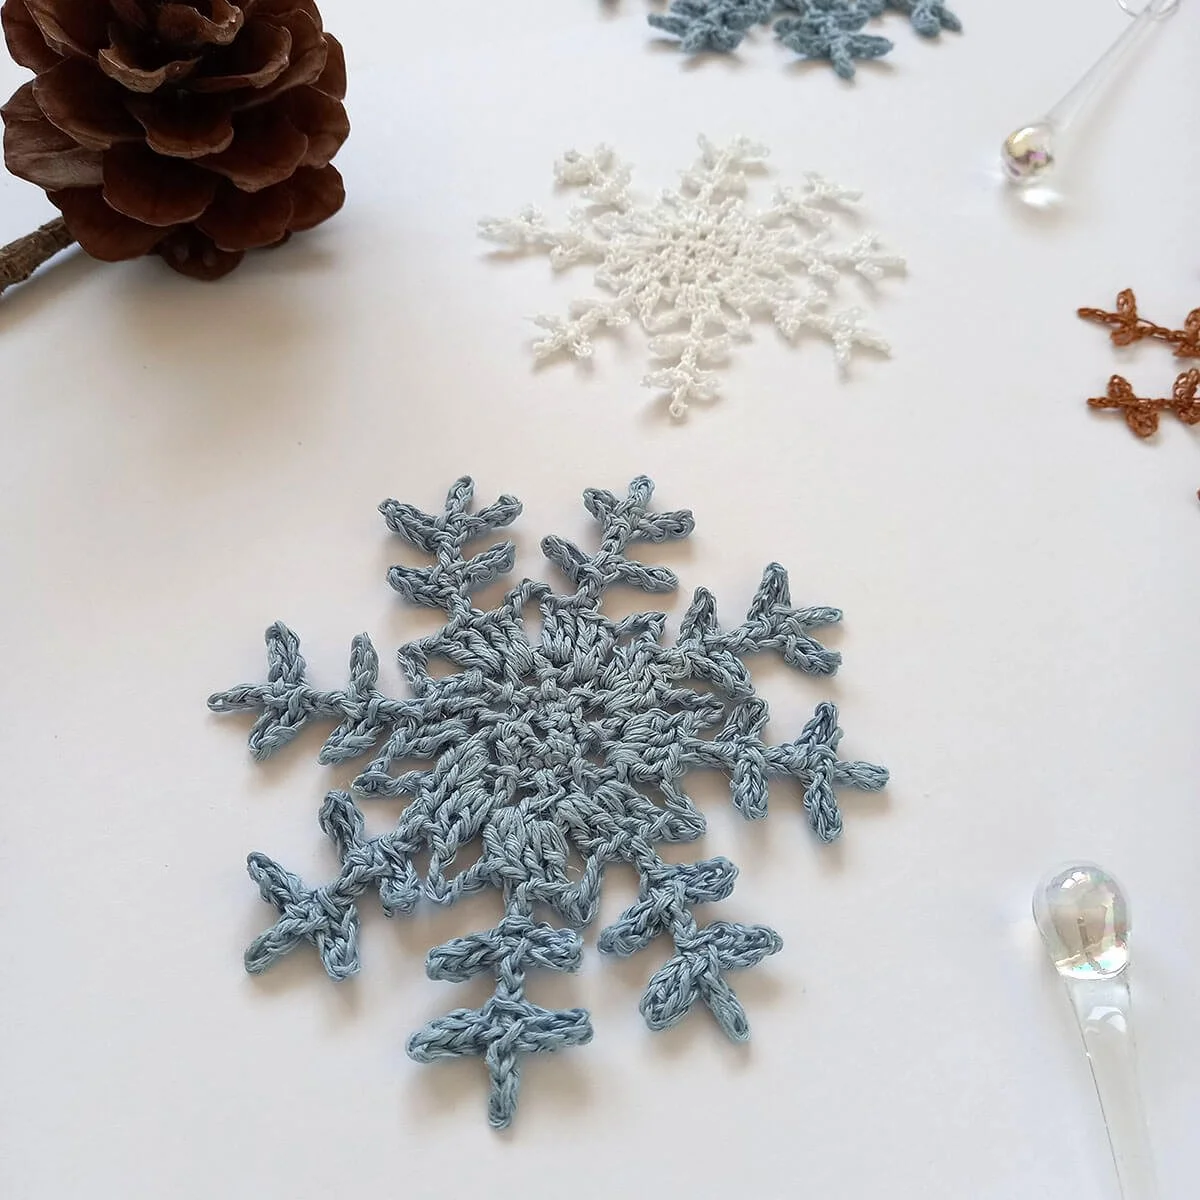
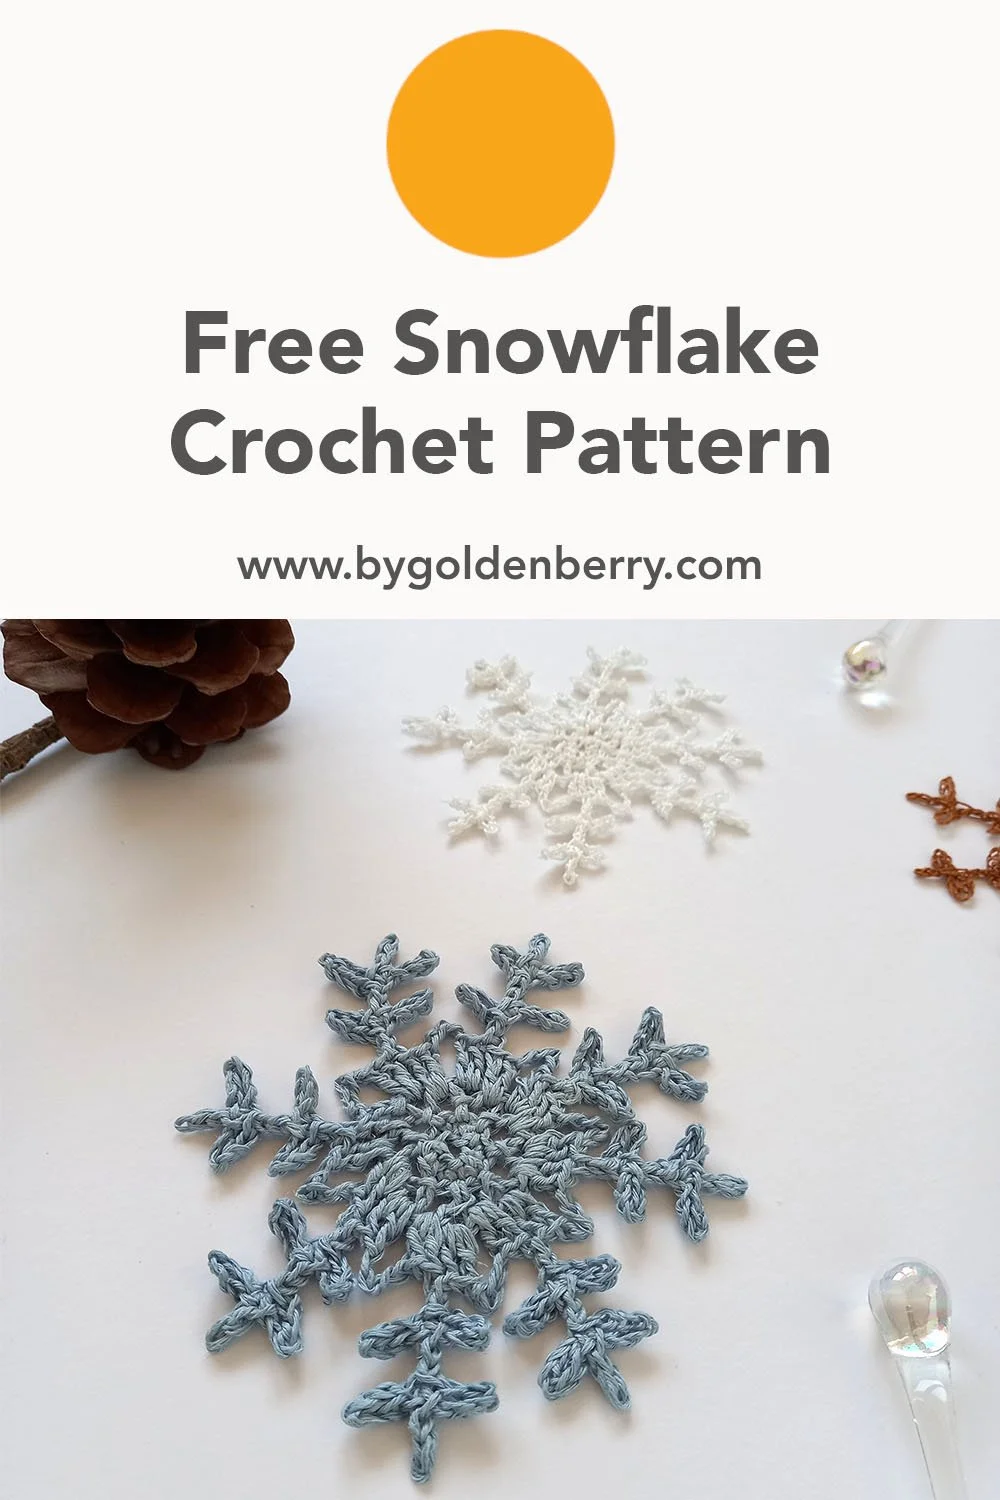
A really easy crochet snowflake free pattern to make your own sustainable decorations for Christmas. You can hang them on the tree, use them as coasters or turn them into a garland of snowflakes; it’s totally up to you!
It looks complicated with an octagonal centre and 8 branches (dendrites) but it’s actually really easy and quick to make.
Check out more of my useful crochet projects over on the blog or in my shop.
This snowflake crochet pattern is completely free on this page. However, if you would like extra photos to help or you would simply like to support my work you can buy the AD FREE, downloadable PDF in my shop.
You can also buy this pattern on
Which Yarn to Use
This pattern is designed with fingering weight yarn but you can also use sport or lace weight. Sport weight will make a larger snowflake and lace weight a smaller one.
You will need roughly 25 grams / 50 yards / 47 metres to make 4 snowflakes.
I used Natissea Pernelle in baby blue, 100% hemp yarn. You can also use another plant based yarn like organic cotton or linen.
Yarn Recommendations
Here are some other options that I think would work really well.
Pattern Details
Crochet Terms
This pattern is written in US crochet terms. Please see the abbreviations section below for conversions to UK terms.
Skill Level: Easy
It is easy to follow and uses basic crochet stitches. You will have 4 snowflakes made up in no time. Once you get the hang of the pattern it’s a really easy, meditative pattern that you can do whilst watching your favourite series or listening to a podcast.
Approximate Measurements
Diameter: 13cm (5”)
You Will Also Need
Hook: 2.5mm - Metric | 12 - UK & Canada | B-1 - US | 4/0 - Japan
Darning Needle
Scissors
Stitch Marker
Abbreviations
ch(s) = chain(s)
st(s) = stitch(es)
r = round
prev. = previous
sl st = Slip Stitch (Video tutorial)
sc = Single Crochet (U.K. Double Crochet - Video tutorial)
dc = Double Crochet (U.K. Treble Crochet - Video tutorial)
** x 2 = Repeat instructions between the asterisks as many times as it states after the x or until the end of the round.
Notes
The pattern is worked in the round, joining at the end of each round
Stitch count is shown at the end of each round as <xx>.
Watch the Video
The ad free, downloadable PDF pattern with helpful photos is available in the shop, Ravelry, Etsy and LoveCrafts.
Crochet Snowflake Free Pattern
Ch 8. Join with sl st into 1st ch. <8ch>
R1: Ch 1. Sc into next ch. Mark st. Sc into next 7 sts. Join with sl st into marked st. <8sc>
R2: * Ch 4. Sl st into next st. * x 7. Ch 2. Dc into next. No join needed. <8spaces>
R3: * Ch 2. Sl st into space. * x 7. Ch 2. Join with sl st into top of ch2.<16spaces>
R4: Ch 2. Dc into 1st space. Make branch (see below). Dc x 2 into next space. * Ch 4. Dc x 2 into next space. Make branch. Dc x 2 into next space.* x 7.
Ch 4. Sl st into top of ch 2.
Branch Pattern
* Ch 9. Sl st into 3rd ch. * x 2.
Ch 3. Sl st into 2nd ch from hook. Sl st into next 2 chs.
Ch 6. Sl st into same ch as prev sl st.
Sl st into next 3 chs.
Ch 6. Sl st into same ch as prev sl st.
Sl st into next 2 chs.
Your snowflake is complete!
You can either finish here by cutting the yarn, threading the end of the yarn through the loop to make a knot and weaving in your end. Or you can continue to make a hanging loop to hang it from the tree.
Making the Hanging Loop
Ch 20. Sl st into the same st.
Cut the yarn, thread the end to make a knot and weave it in to secure it.
Or if you want it to be more discrete; Secure a small loop of lace weight yarn or thread to the size that you want.
Blocking the Snowflake
Once all your ends are woven in. You can block the snowflake to help it keep its shape.
Dampen the snowflake in water.
Gently press out the excess water without twisting or wringing as this can damage the fibres.
Lay it out on a towel and roll it up gently pressing to take out any extra moisture.
Pin it down into its final shape on another dry towel and leave it to dry.
Setting the Snowflake
If you want the snowflake to be more rigid you can also set it with corn starch and water.
Mix 1 tbsp of starch with a small amount of water to make a paste.
In a small pan, heat up 235ml of water.
Add in the starch mixture and heat until the mixture becomes transparent and the consistency is gloopy.
Add another 235ml of cold water.
Allow to cool completely.
Immerse your snowflakes into the mixture making sure the snowflake is fully covered. Squeeze out the extra mixture and pin it down into its final shape on a piece of card or blocking board and leave it to dry.
That’s it! Your snowflake is ready to hang on the tree.