
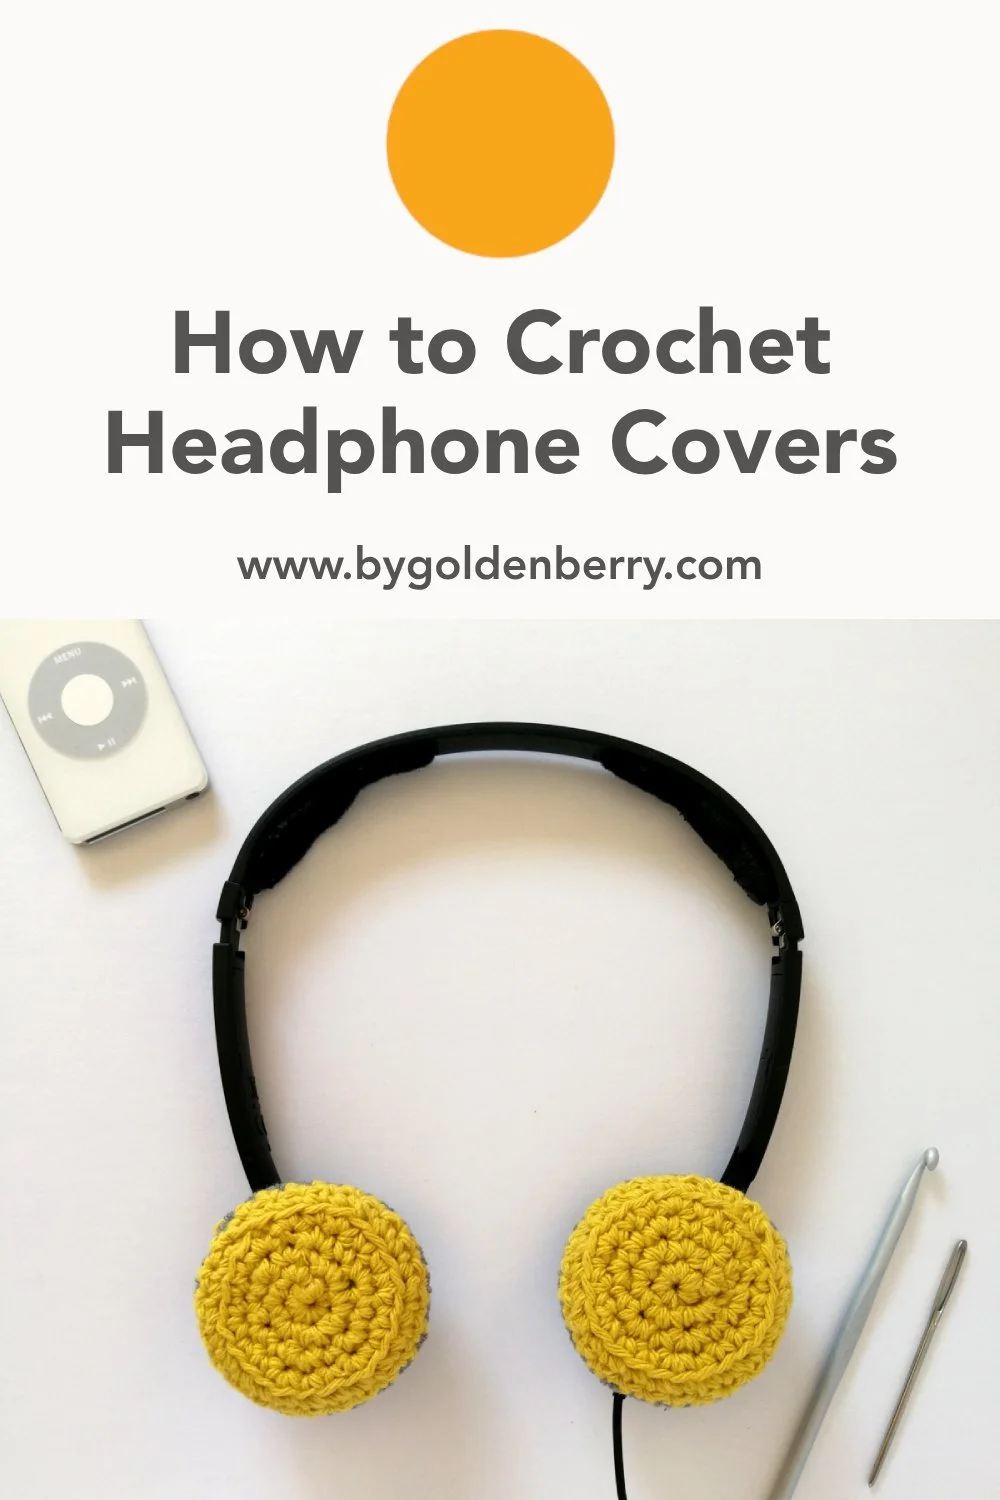
How To Crochet Headphone Covers for Round Ear Pads
The following article may contain affiliate links. This means that if you make a purchase from these links, I may receive affiliate commission at no additional cost to you.
The recommendations listed here are based on personal experience and the affiliate relationship in no way compromises the integrity of the suggestions. More about sustainable yarns.
Crochet Headphone Covers for any Size
Do you have round headphones that have ear covers / pads which are starting to peel and shed their synthetic material?
In this blog post I’m going to show you how to crochet headphone covers for your ear pieces as replacements, no matter the size.
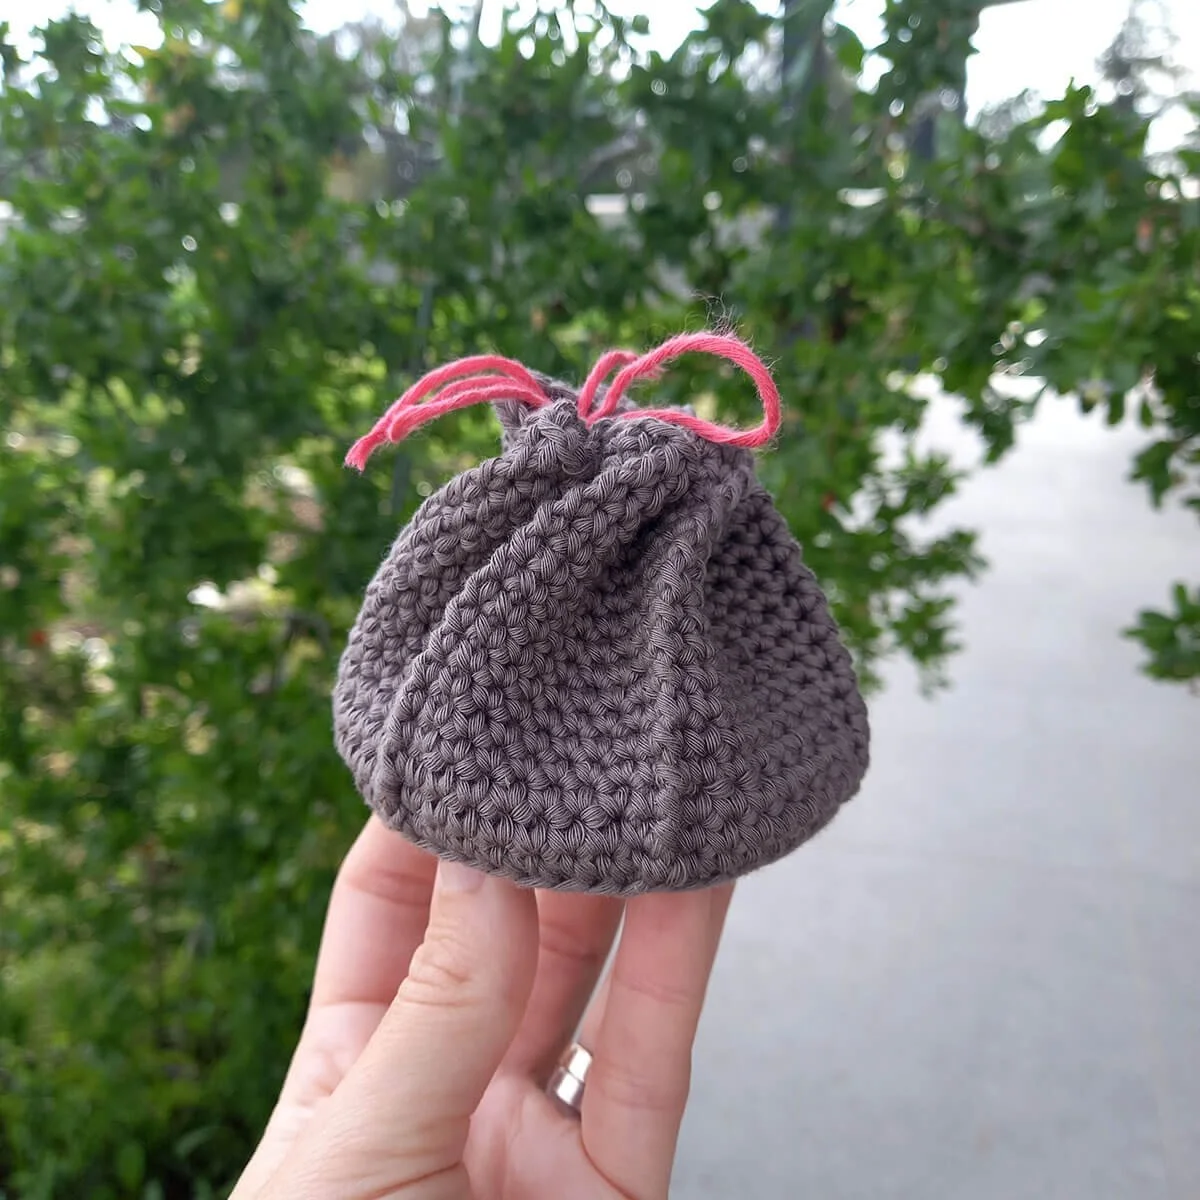
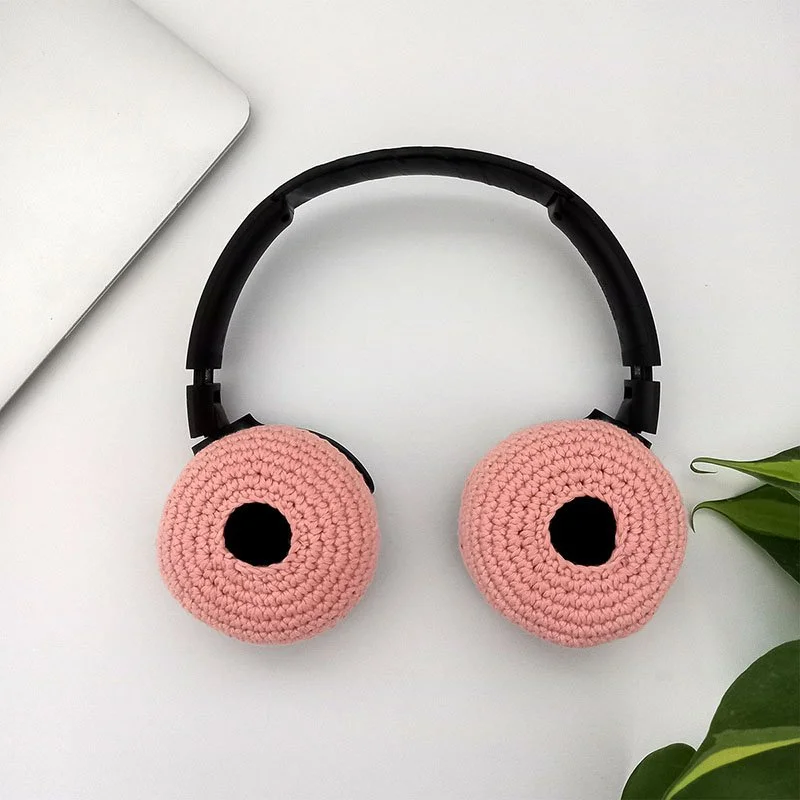
Looking for a pattern with an open centre? Head to my other Headset Ear Piece Cover Crochet Pattern to learn how to make one to fit your size headphones.

I made these for myself in order to save my headphones from landfill and avoid needing to buy new synthetic ones and I absolutely love them and wanted to share the pattern with you.
This pattern is for any size of round headphones. My size is quite small so I will also show you how to make them bigger to suit the size of ear pads that you have.
See more sustainable and useful crochet projects.
Get the PDF Download
The pattern for how to crochet headphone covers is completely free on this page. However, if you would like to support my work you can buy the AD FREE, downloadable PDF with more photos in my shop.
You can also buy this pattern on
I’ll teach you how to make them to fit your size headphones.
What to do With the Original Covers?
Is it just me or do these synthetic headphone covers never last? They always seem to begin disintegrating after a while.
What Are They Made of?
I wish that they were made of something more eco friendly or biodegradable so we can replace them easily without damaging the environment.
Unfortunately, ear pads / cushions are usually made of synthetic leather, real leather, velour or synthetic foam and the reasons are for comfort, sound quality and noise isolation.
Leave Them on!
If you can and they’re not too bad, then leave them on. We’re going to contain the shedding with our crocheted cover so don’t worry about that.
Also, some of the cushions that are attached to ear pieces do not actually come off. They are attached in such a way that if you took them off there’s a chance you would ruin them.
So just leave them as they are and you will also benefit from the comfort they provide underneath the new cover we’re going to make.
How to Dispose of Them
However, if yours have holes in them or they have come away from the ear piece already or you are able to remove them and you think they would be better without, then dispose of them properly.
If yours are made of real leather, then you can just pop the original covers in your home compost; be sure that there is no synthetic on the inside before you do this. Only the real leather can be composted.
Any that are made of synthetic material, like mine were (mine were synthetic foam which is porous and wears away quickly), unfortunately there is nothing else to do but send them to landfill.
You don’t want any of the micro plastics entering any water systems or spreading around the atmosphere so I would put them in a used bag to contain the shedding and put them in the bin.
Once you have dealt with your shedding covers, you can now make some new fresh ear pads with this easy crochet pattern that will teach you how to crochet headphone covers for any size. Choose a sustainable yarn to make them with using my recommendations below.
Then, if needed in the future, you will be able to replace them again easily and without guilt by simply composting them and making a new set.
Let’s get to the pattern!
How to Crochet Headphone Covers
What Size Headphones is This Pattern for?
Mine are Sennheiser travel headphones that fold away easily into a small case. The ear pads themselves measure about 5cm in diameter without the cushion.
They are also an exact circle which makes the pattern really easy and and the pattern also goes through how to make them larger to fit the size that you have.
Watch the Video Tutorial
Watch the video tutorial below or continue scrolling for the written pattern.
What you Will Need
Hook: 4.5mm
Yarn: In total, approx 10 gram / 17 yards / 16 meters of worsted weight yarn.
A really soft yarn that is natural and breathable is preferred so that they are comfortable to wear for a long time.
I used Paintbox Yarns Recycled Cotton Worsted in Honey (Colour A) and Steel Blue (Colour B).
You can use any other sustainable, worsted yarn you like that matches the gauge but cotton is my favourite for this because they will last longer under the wear and tear.
Other sustainable yarn suggestions that I think could work really well:
Lion Brand - LB Collection® Botanic Yarn (100% Tencel™ Lyocell)
Knit Picks - Simply Organic Cotton Worsted (100% Organic Cotton)
Scissors
A Stitch Marker
Elastic Band (optional)
Abbreviations
mr = Magic Ring (Video tutorial)
yo = yarn over
st(s) = Stitch(es)
sl st = Slip Stitch (Video tutorial)
sc = Single Crochet (U.K. Double Crochet - Video tutorial)
BLO = Back Loop Only
<10> = Numbers in between greater than and less than symbols at the end of each row shows how many stitches you should have at that point.
** = Repeat instructions between the asterisks as many times as it states after the x or until the end of the round.
Gauge
4 sc and 5 rows = 2.5cm (1”)
Notes
Skill level: Easy.
The pattern is written in US crochet terms. Please see the abbreviations section above for conversions to UK terms.
The first stitch of each round is made into the stitch after the join.
The last stitch of each round is made into the marked stitch.
When counting your stitches, be sure to include the marked stitch.
To make the cushion hold onto the earpiece you can crochet the last round tighter than usual, use a smaller hook or crochet the last round over an elastic band.
The Pattern
Using Colour A, mr. (See my Magic Ring tutorial)
Round 1: 6 sc into mr. Pull mr closed and sl st into first sc to join. Mark the join. <6dc>
Round 2: 2 sc into first st after join. 2 sc into each st including the marked st. Sl st into first st of round to join. Mark the join. <12dc>
Round 3: 1 sc in first st, 2 sc in next. * 1 sc in next st, 2 sc in next st * repeat until end. Sl st into first st of round to join. Mark the join. <18dc>
Round 4: 2 sc in first st, 1 sc in next two sts. * 2 sc in next st, 1 sc in next two sts * repeat until end. Sl st into first st of round to join. Mark the join. <24dc>
To Make a Larger Cover
If you need to make a larger cover, add more rounds here. Be sure to increase by 6 stitches for each additional round you add and alternate where you add the increases like in the previous rounds, to keep the shape circular.
For example:
Round 4.1: * 1 sc in next three, 2 sc in next * repeat until end. Sl st into first st to join. Mark the join. <30dc>
Round 4.2: * 2 sc in first st, 1 sc in next four * repeat until end. Sl st into first st to join. Mark the join. <36dc>
… and so on.
Shaping the Edges
Measure the cover against your earpiece to check the size. Once the size of your cover matches the diameter of your earpiece, stop increasing and continue as follows to shape the edges.
Round 5: Working into the BLO, sc into each st. Sl st into BLO of first st of round to join. Mark the join. <24dc>
Round 6: Sc into each st. Sl st into first st of round to join. If changing colours for the last round, use colour B to yo & pull through on the sl st (see photo below). Mark the join.
Making the Last Round
Remember to either crochet this last round a bit tighter than usual, use a smaller hook or crochet around an elastic band.
Round 7: Repeat round 6.
My covers end here but if you have deeper edges, then continue repeating round 6 until you have enough edge to cover the sides of your earpieces.
Cut the end and pull the loop up, so that the end of the yarn is pulled through the st, and tighten.
Weave in your mr end to make sure it holds and either weave in your final end or simply fold it into the inside of the cover before putting it onto your ear piece and you’ve finished your first headphone cover!
Now make another for the second side.
I really hope you enjoyed learning how to crochet headphone covers in order to save your existing headphones instead of buying new ones. Let me know how yours turned out in the comments below.