
Headset Ear Piece Covers with Open Centre
The following article may contain affiliate links. This means that if you make a purchase from these links, I may receive affiliate commission at no additional cost to you.
The recommendations listed here are based on personal experience and the affiliate relationship in no way compromises the integrity of the suggestions. More about sustainable yarns.
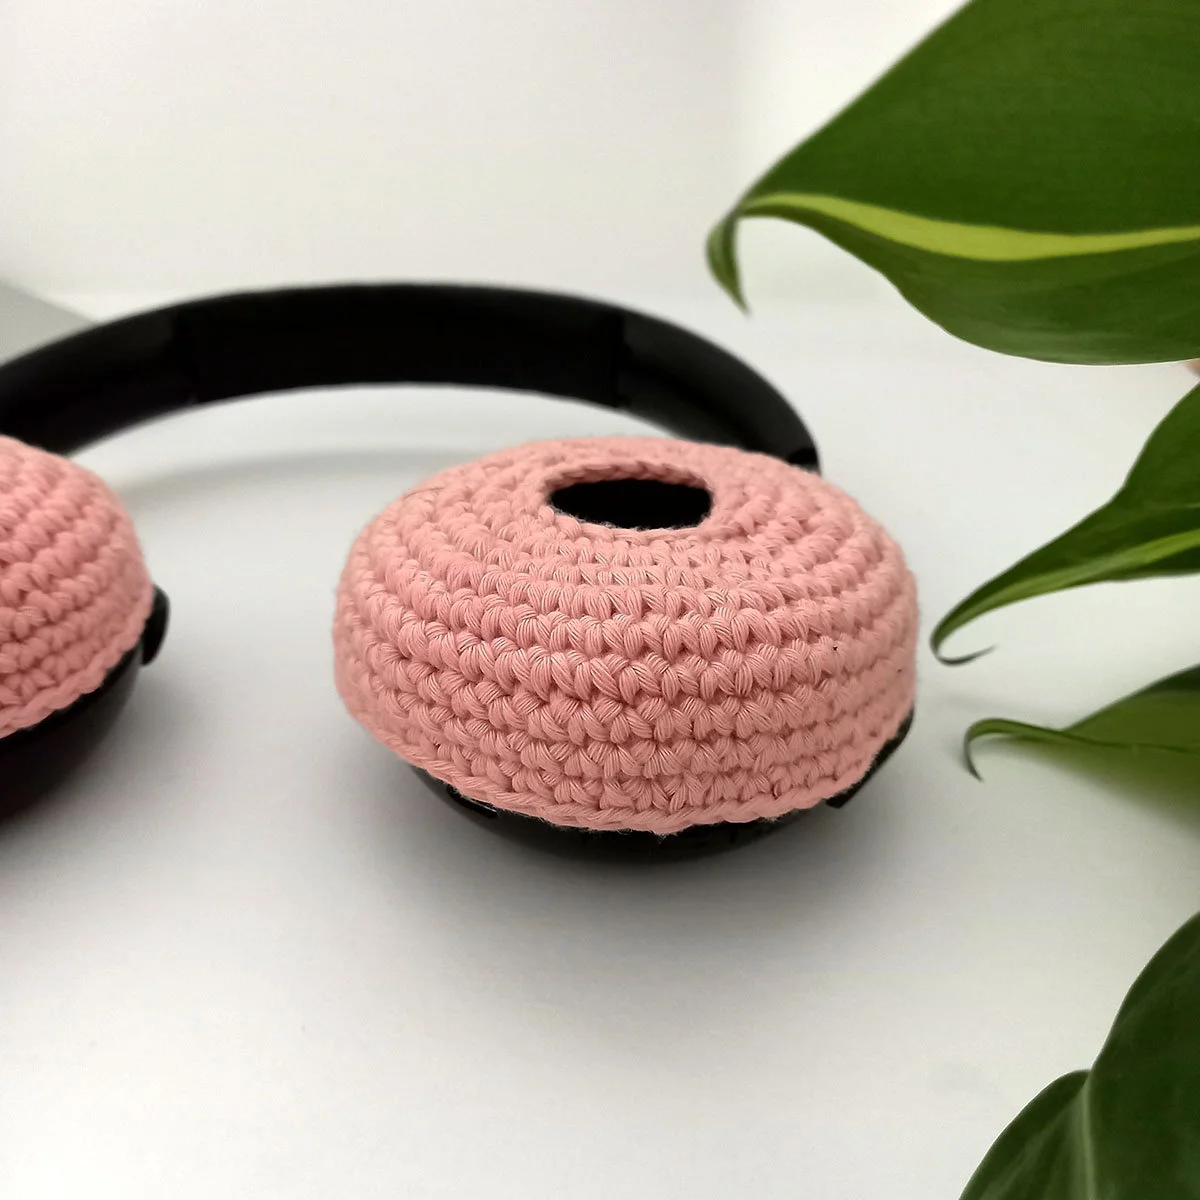
If you have a headset, with perfectly round ear pieces, with an open centre, that are starting to shed their soft synthetic material, then this crochet tutorial is for you!
I’m going to show you how to save your headphones by crocheting a soft cotton cover to keep all those micro plastics from going everywhere and to save you from having to buy more.
Looking for a crochet pattern with a closed centre? Head to my other Headphone Cover Crochet Pattern for any size.
See more sustainable and useful crochet projects.
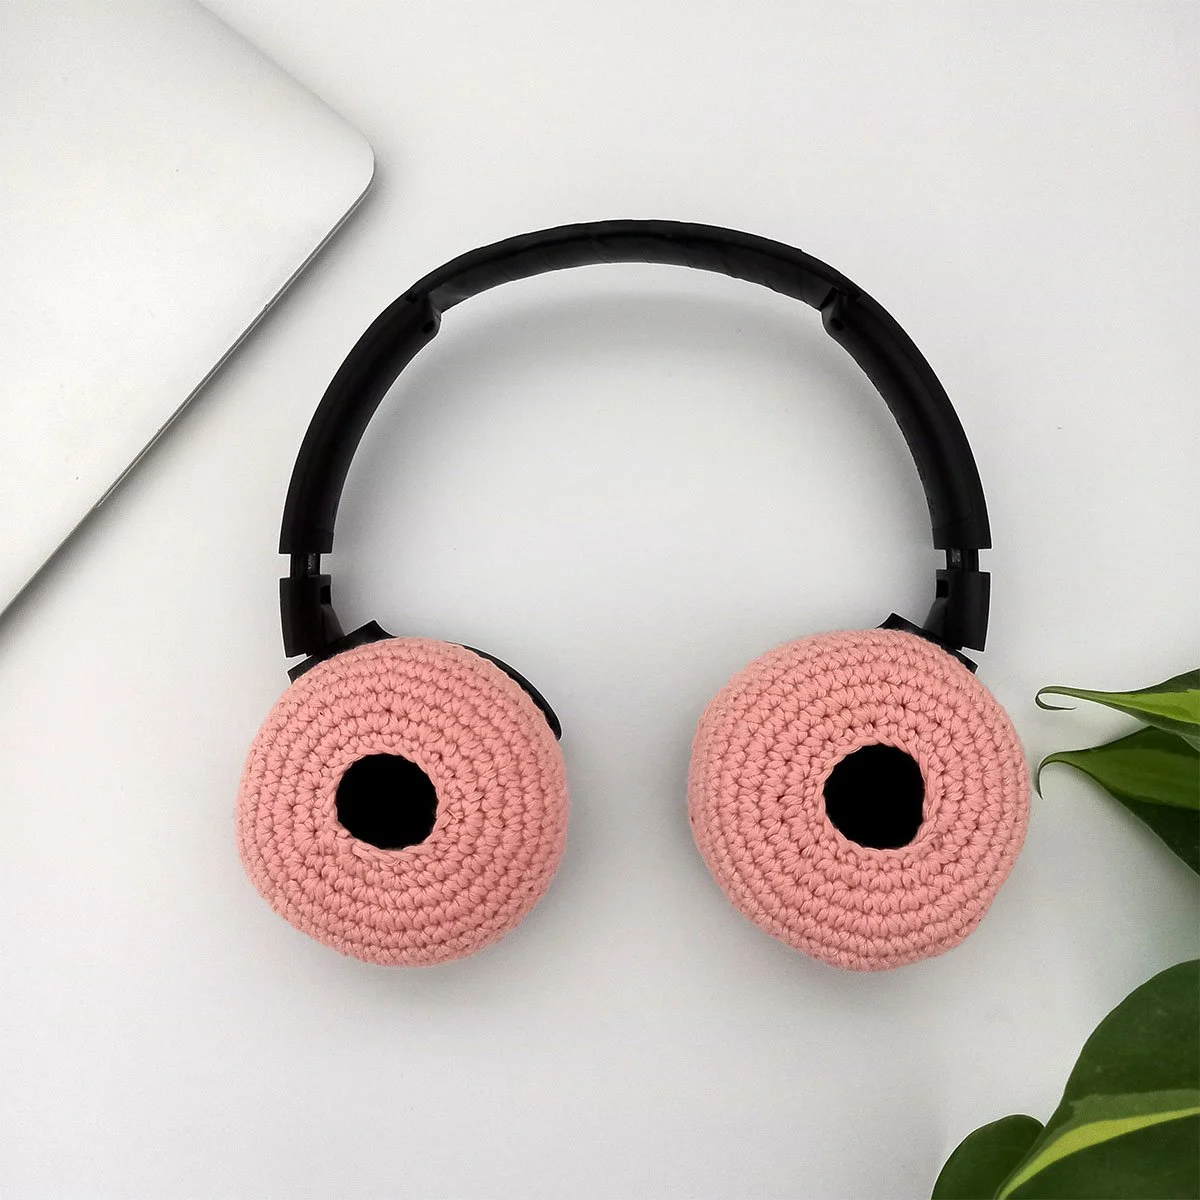
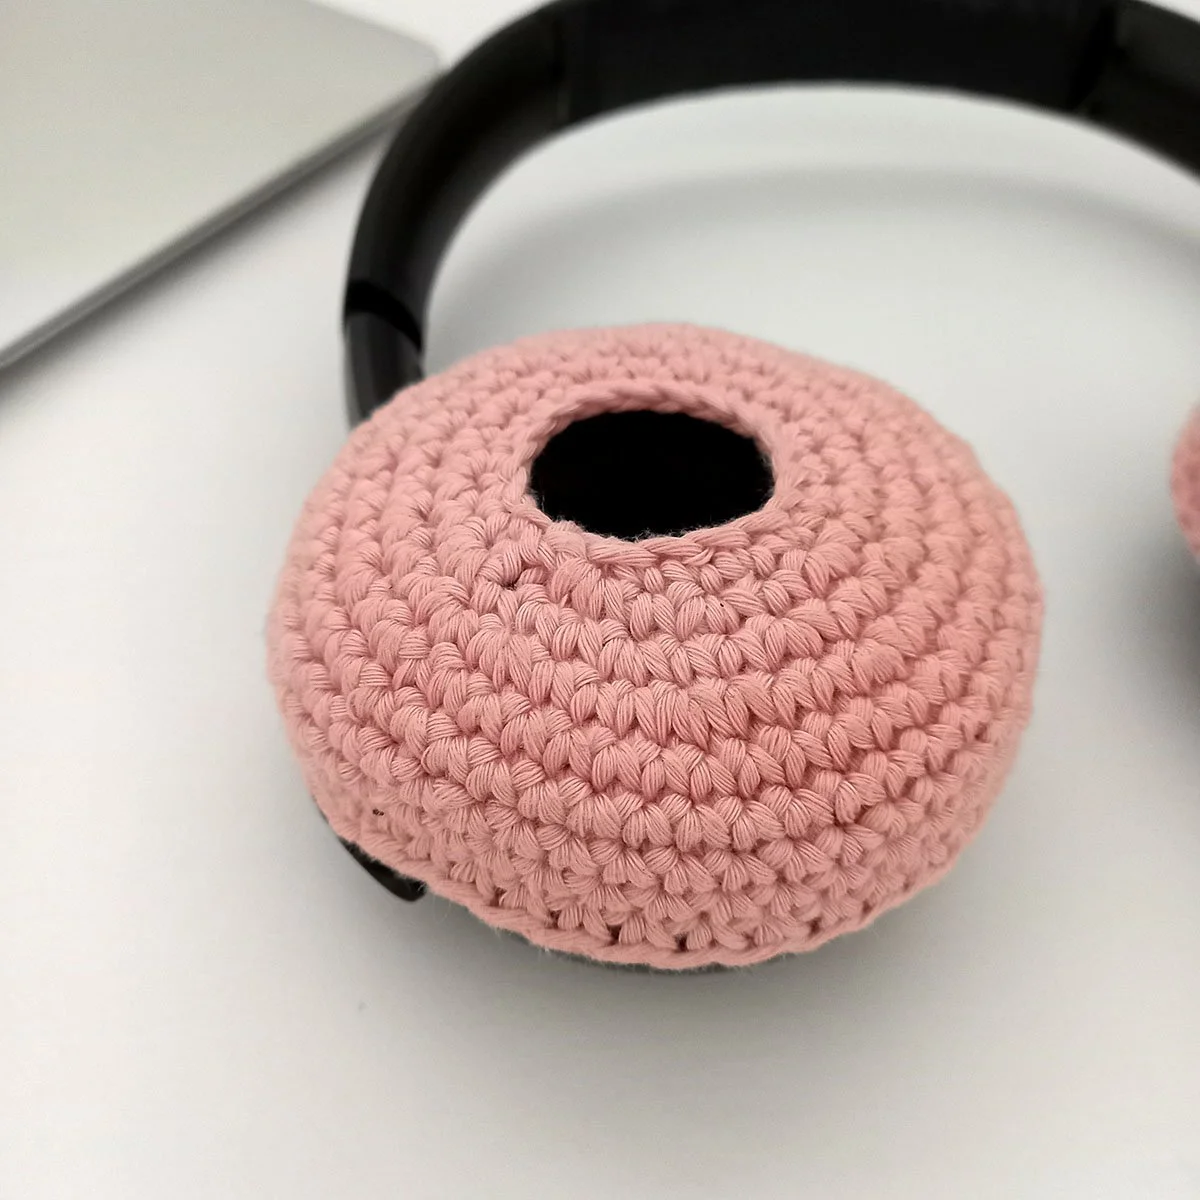
This pattern has been designed to fit perfectly round ear pieces with a hole in the centre, no matter how big or small they are. I will show you how to adjust the pattern to suit your size.
Measurements
The headphones shown here are Philips Wireless Headphones with approximate measurements as follows:
Cushion Width: 7.5cm
Cushion Depth: 2.5cm
Speaker Diameter (open centre): 32mm
Leave the Original Covers on
These types of headphones usually have covers that are completely attached to the ear piece. So we’re leaving them on, even if they are shedding, and we will crochet over the cushion to contain the shedding.
Leaving them on also means you get to keep the extra comfort and simply add a new cover over the top.
The Pattern
What you Will Need
Hook: 3mm
Yarn: In total, approx 20 gram / 46 yards / 42 meters of sport weight yarn.
A really soft yarn that is natural and breathable is preferred so that they are comfortable to wear for a long time.
I used Gründl Eco Cotton.
You can use any other sustainable, soft, sport weight yarn you like but a soft, organic cotton is my favourite for this because they will be comfy and last longer under the wear and tear.
Other sustainable yarn suggestions that I would use for this project:
LoveCrafts - Debbie Bliss Eco Baby Yarn (100% Organic Cotton)
LoveCrafts - Cascade Yarns Botanika (100% Organic Cotton)
Scissors
A Stitch Marker
Thin Hair Band (optional)
Gauge
5 sc and 6.5 rows = 2.5cm (1”)
Crochet Terms
This pattern is written in US crochet terms. Please see the abbreviations section below for conversions to UK terms.
Skill Level: Easy
This pattern is an easy pattern that will work up in no time at all. It uses simple, basic crochet stitches to create a quick headphone ear piece cover.
Abbreviations
ch = Chain
st(s) = Stitch(es)
r = Round
sl st = Slip Stitch (Video tutorial)
sc = Single Crochet (U.K. Double Crochet - Video tutorial)
<10> = Numbers in between greater than and less than symbols at the end of each row shows how many stitches you should have at that point.
** = Repeat instructions between the asterisks as many times as it states after the x or until the end of the round.
Notes
After making the open centre, the pattern is worked in a spiral without joining at the end of each round.
Each round ends with working into the marked stitch.
Make sure to move the marked stitch to last stitch of the round in order to keep track.
Stitch count is shown at the end of each round as <xx>.
Be sure to crochet the last round over an hair band to help it hold onto the ear piece.
The hair band you choose should fit a little tight around the ear piece.
The first and only join, and round 1, works into the 3rd loop of the chain (the back bump) in order to give a neater finish. You can work into the chain like you would normally if you prefer.
The Pattern
Ch 20. Sl st into 3rd loop (back bump) of first ch to join. Mark join.
If your open centre is larger or smaller, simply chain enough chains to match the size of the opening. It should line the hole in the centre and almost sit inside the edge. Make sure to chain an even number of chains.
R1: Working into 3rd loop of chain, sc into each ch including join. <20sc>
R2: * 2 sc into first st. 1 sc into next. * Repeat until end. <30sc>
R3: * 1 sc into next two sts. 2 sc into next. * Repeat until end. <40sc>
R4: * 2 sc into next st. 1 sc into next three sts. * Repeat until end. <50sc>
At this point, you should have a flat circle that sits just inside the edge of the cushion when placed on top. If it fits, continue to Shaping the Edges below.
To Make a Larger Cover
If you need to make a larger cover, continue to add more increasing rounds here. Be sure to increase by 10 stitches, if you chained 20 at the beginning, for each additional round you add.
If you adjusted the initial chain, then increase by half of the chains. For example, if you chained an even number of 26, then you would increase by 13.
Make sure to alternate where you add the increases to keep the shape circular, like in rounds 2-4.
For example:
R4.1: * 1 sc into next four sts. 2 sc into next. * Repeat until end. <60sc>
R4.2: * 2 sc into next st. 1 sc into next five sts. * Repeat until end. <70sc>
… etc.
Shaping the Edges
Here we will stop increasing and continue to work on the sides of the cushion.
R5: Sc into each st around. <50sc>
R6-8: Repeat r5.
R9: Repeat r6 around a hairband.
If your ear pieces have deeper cushions and you need more edging to cover them, continue repeating round 6 until you have the correct size. Make sure that the last round is around a hairband.
Finish both ends with an invisible finish to give both edges a seamless look.
Now make another for the second side and you’re all set to keep using your headphones :)
Let me know how yours turned out in the comments.