
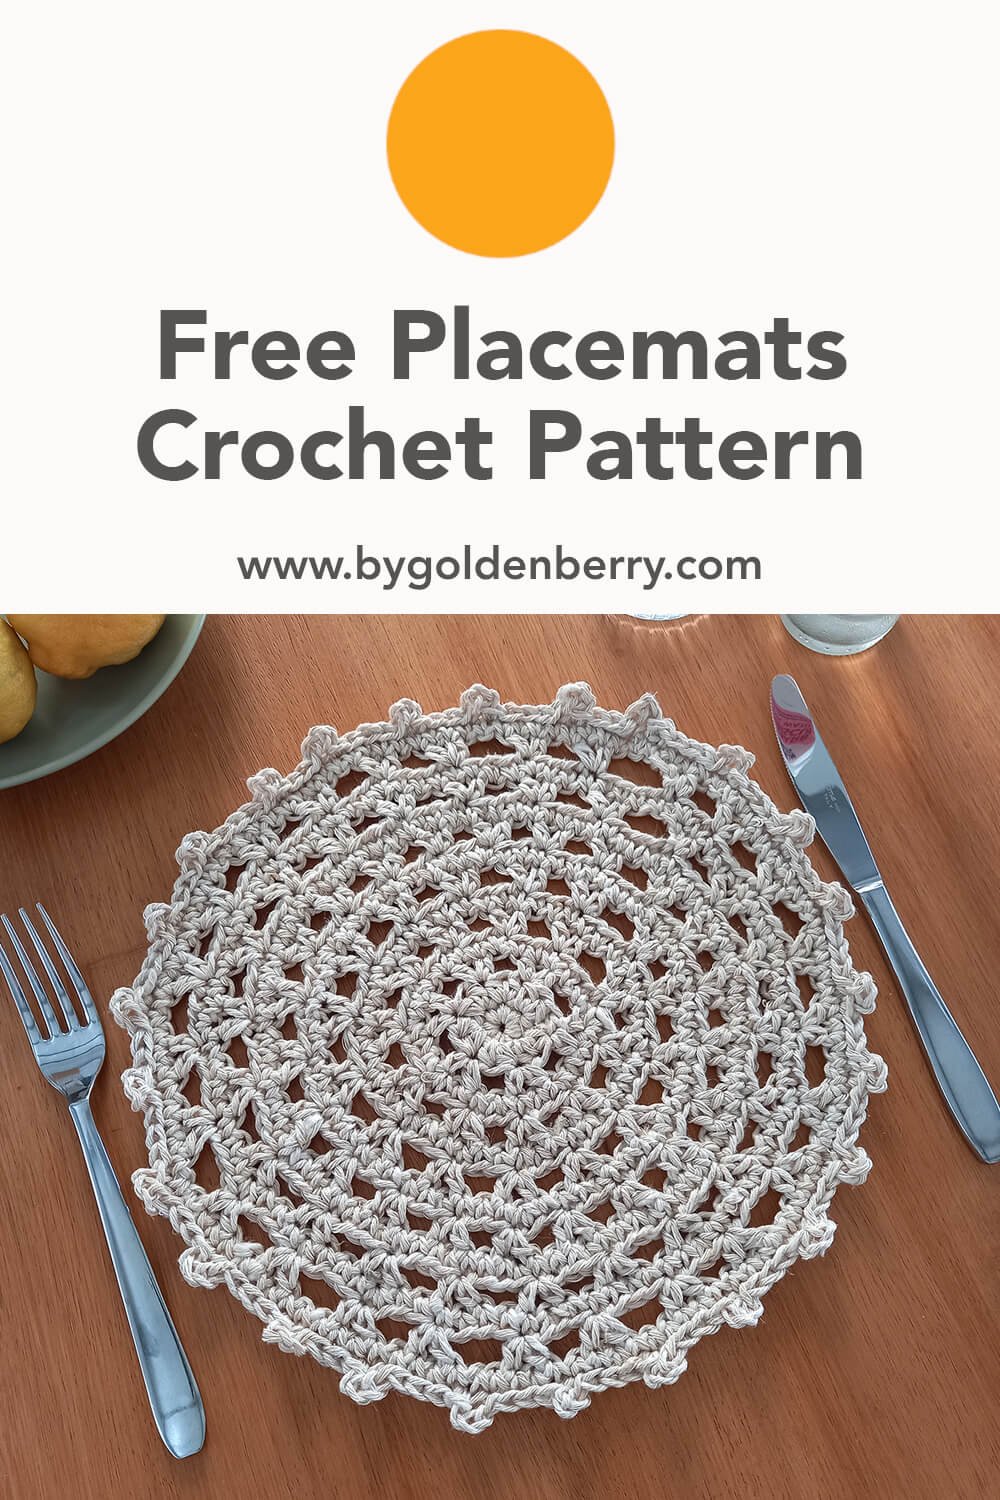
Sustainable Placemats Crochet Pattern for an Eco Kitchen
The following article may contain affiliate links. This means that if you make a purchase from these links, I may receive affiliate commission at no additional cost to you.
The recommendations listed here are based on personal experience and the affiliate relationship in no way compromises the integrity of the suggestions. More about sustainable yarns.
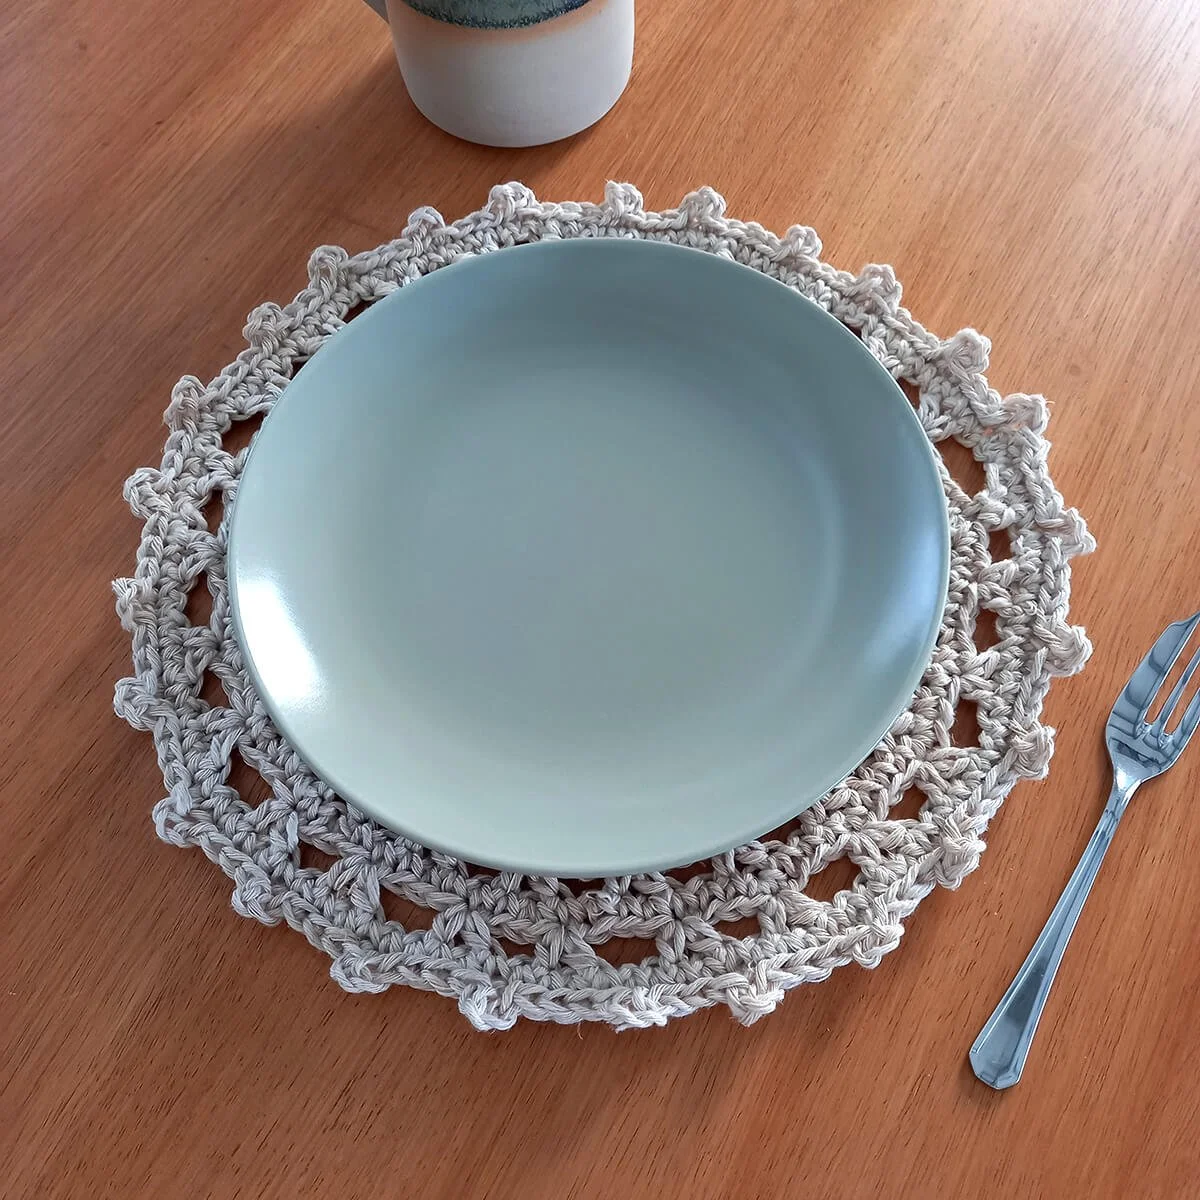
Keep your kitchen table plastic free by making your own sustainable table mats with this super easy placemats crochet pattern.
The pattern is really easy; it’s worked in the round using DK weight yarn with only basic stitches, the single crochet and the half double crochet stitch. You will have a full set of place settings made up really quick.
Choosing an appropriate yarn is key. A plant based yarn is best for making sure they’re eco friendly and also to protect your table from scratches and heat. I would advise against a synthetic yarn for this project.
See more kitchen crochet patterns.

Measurements
Width: 29cm / 11.5 inches (Measured from picot to picot)
Circumference: 89cm / 36 inches
What to do With Old Placemats
We’ve had plastic ones for years and they’ve been great but we’re at the point now where we want my kitchen table to be free of plastic. We want our new placemats to match our beliefs and the rest of our natural aesthetic.
If you’re replacing plastic ones too then the best thing you can do with them is give them away to someone else who needs them.
We will be offering ours on our local buy nothing group for someone else to keep using, they’re still good to use.
Watch the Video
The Placemats Crochet Pattern
What you Will Need
Hook: 5mm - Metric | 6 - UK & Canada | H/8 - US | 8/0 - Japan
Yarn: Approx 100 gram / 90 yards / 82 meters of DK (Light (3)) weight yarn for one placemat.
I used Hemp Yarn.
You need a natural yarn that will have some padding to help protect your table and be a little heat resistant.
Other sustainable yarn suggestions that I would use for this project:
Stitch Marker
Scissors
Darning Needle
Gauge
4 sc and 4 rounds = 2.5cm (1”)
Crochet Terms
This pattern is written in US crochet terms. Please see the abbreviations section below for conversions to UK terms.
Skill Level: Easy
This pattern is an easy pattern that will work up in no time at all. It uses simple, basic crochet stitches to create a quick but functional placemat.
Abbreviations
ch = Chain
st(s) = Stitch(es)
r = Round
mr = Magic Ring (Video tutorial)
sl st = Slip Stitch (Video tutorial)
sc = Single Crochet (U.K. Double Crochet - Video tutorial)
hdc = Half Double Crochet (U.K. Half Treble Crochet - Video tutorial)
v(s) = V stitches (hdc, ch1, hdc)
<10> = Numbers in between greater than and less than symbols at the end of each row shows how many stitches you should have at that point.
** = Repeat instructions between the asterisks as many times as it states after the x or until the end of the round.
Notes
The pattern is worked in rounds with a join at the end of each round.
The join counts as a stitch.
Always work into the marked stitch unless otherwise stated.
Some rounds end with less skipped stitches as the repeat. This is intentional to achieve the finished pattern.
On the hdc rounds, the ch3 counts as the first hdc and ch1. Ch4 counts as first hdc and ch2.
Stitch count is shown at the end of each round as <xx>.
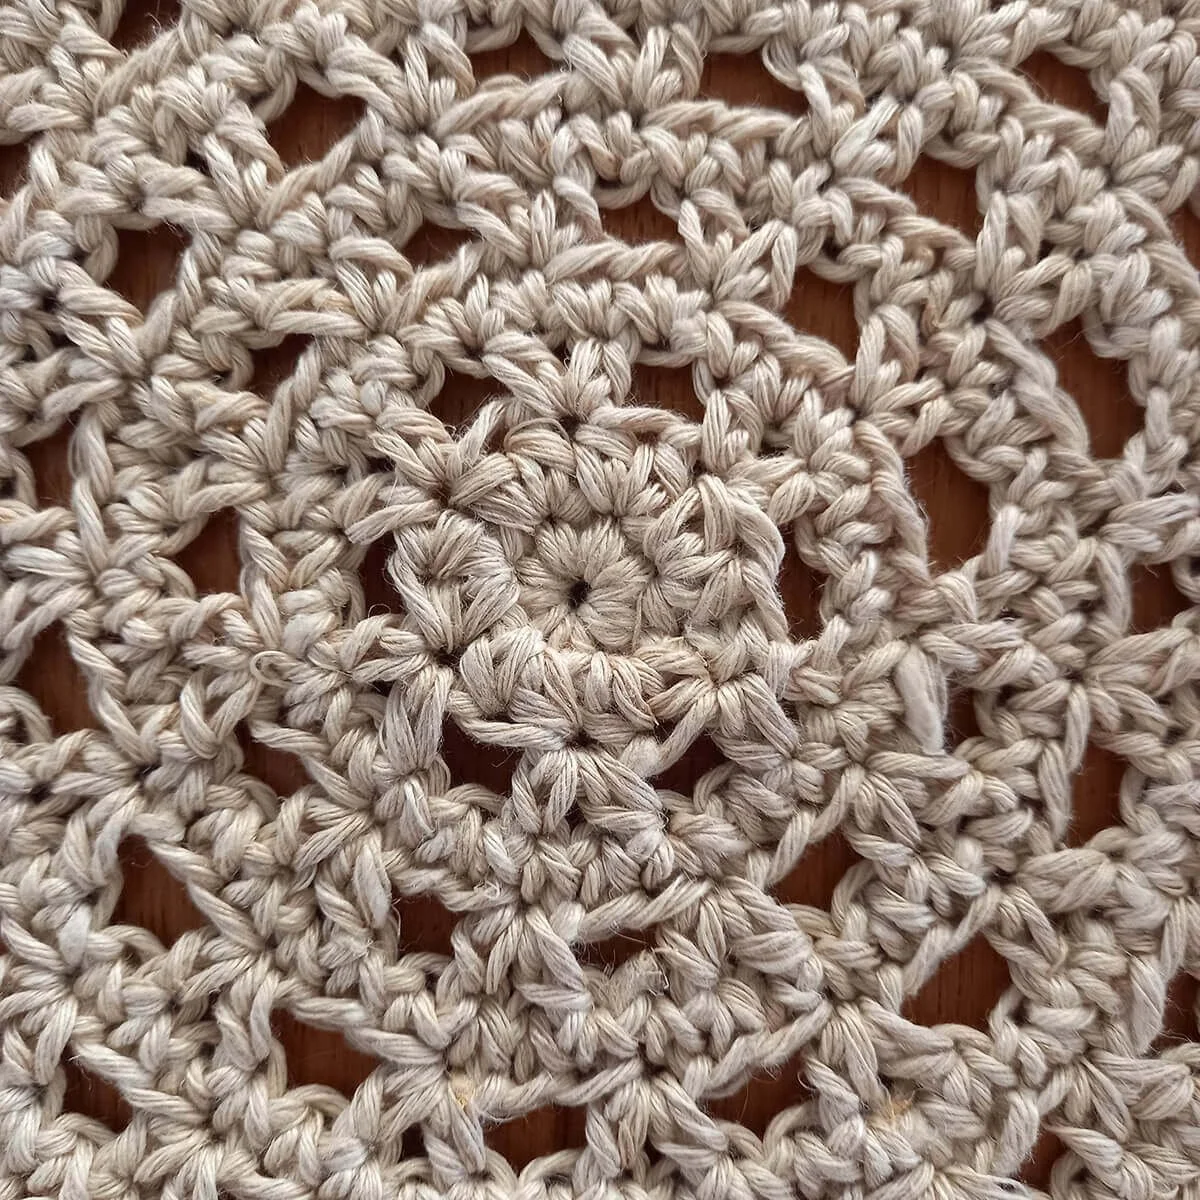
The Pattern
Mr
R1: 6 sc into mr. Sl st into first sc. Mark join. <6sc>
R2: Ch2. 2 hdc into each st. Sl st into first hdc. Mark join. <12hdc>
R3: Ch3. * Skip next st. Hdc into next st. Ch1. Hdc into same st. Ch1. * x 5. Skip next st. Hdc into marked st. Ch1. Sl st into second ch of ch3. Mark join. <6vs / 24sts>
R4: Ch1. * Sc into first 2 sts. 2 sc into next st. * Repeat until end. Sl st into first sc. Mark join. <32sc>
R5: Ch3. * Skip 2 sts. Hdc into next st. Ch1. Hdc into same st. Ch1. * x 10. Skip next st. Hdc into marked st. Ch1. Sl st into second ch of ch3. Mark join. <11vs / 44sts>
R6: Ch1. Sc into each st. Sl st into first sc. Mark join. <44sc>
R7: Ch3. * Skip 2 sts. Hdc into next st. Ch1. Hdc into same st. Ch1. * x 14. Skip next st. Hdc into marked st. Ch1. Sl st into second ch of ch3. Mark join. <15vs / 60sts>
R8: Ch1. * Sc into next 9 sts. 2sc into next st.* Repeat until end. Sl st into first sc. Mark join. <66sc>
R9: Ch3. * Skip 2 sts. Hdc into next st. Ch1. Hdc into same st. Ch1. * x 21. Skip next 2 sts. Hdc into marked st. Ch1. Sl st into second ch of ch3. Mark join. <22vs / 88sts>
R10: Repeat R6.
R11: Ch3. * Skip 3 sts. Hdc into next st. Ch1. Hdc into same st. Ch1. * x 21. Skip next 3 sts. Hdc into marked st. Ch1. Sl st into second ch of ch3. Mark join. <22vs / 88sts>
R12: Ch1. * Sc into next 7 sts. 2sc into next st.* Repeat until end. Sl st into first sc. Mark join. <99sc>
R13: Ch4. Skip 3 sts. Hdc into next st. Ch1. Hdc into same st.
* Ch1. Skip 3 sts. Hdc into next st. Ch1. Hdc into same st. Ch2. Skip 3 sts. Hdc into next st. Ch1. Hdc into same st. * x 11.
Ch1. Skip 3 sts. Hdc into next st. Ch1. Hdc into same st. Ch2. Skip next 2 sts. Hdc into marked st. Ch1. Sl st into second ch of ch4. Mark join. <25vs / 113sts>
R14: Repeat R6.
R15: Ch1. Sl st into first st. * Ch3. Sl st into next 4 sts. Ch3. Sl st into next 5 sts. * x 12. Ch3. Sl st into next 4 sts. (25 picots)
Cut the yarn and weave in your ends.
That’s it! Your first placemat is done. Make as many as you need for your table and let me know how it works out for you in the comments.